 Save to Pinterest
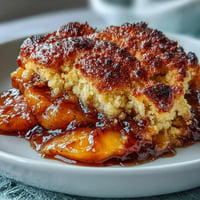
 The first time I encountered konafa, it was at my aunt's kitchen table during a humid Cairo afternoon, the pastry so impossibly crisp it shattered between my teeth like spun sugar. She'd been making it since dawn, layering those delicate shredded strands with the precision of someone who'd done it a thousand times before. What struck me most wasn't just the taste—though the honey and nuts together felt like a secret the dessert had been keeping—but the way the whole house smelled, how a simple combination of butter and phyllo could fill every corner with something so inviting. Now whenever I make it, I'm right back there, watching her hands work with such quiet confidence.
I remember bringing this to my best friend's birthday dinner, nervous because I'd made it for the first time in my own kitchen. When I pulled the hot pan from the oven, that crackling sound, the way the golden-brown pastry caught the light—I knew it was going to be good. She served it after everyone had already said they were too full, and somehow the whole dessert disappeared within minutes. That's when I understood: konafa isn't just food, it's the moment when everyone stops talking and just enjoys.
Ingredients
- Kataifi dough: This shredded phyllo is the soul of the dish—buy it frozen and thaw it gently at room temperature so the strands stay separate and delicate.
- Unsalted butter: Use good quality butter; it's what makes the pastry shatter instead of just crunch, and the flavor carries through every bite.
- Walnuts, pistachios, and almonds: Chop them finely by hand if you can—a food processor sometimes bruises them and releases oils that make the filling a bit greasy.
- Ground cinnamon and cardamom: These aren't just background notes; they're what make people pause and ask what they're tasting.
- Honey syrup base: The sugar-water foundation matters more than you'd think—boil it just long enough to dissolve completely, then cool it slightly before adding the honey or it loses its delicate fragrance.
- Rose water or orange blossom water: Optional but transformative; a teaspoon turns this from lovely into something people remember.
Tired of Takeout? 🥡
Get 10 meals you can make faster than delivery arrives. Seriously.
One email. No spam. Unsubscribe anytime.
Instructions
- Set your oven and prepare:
- Heat to 180°C and butter your pan generously—this pastry needs help releasing cleanly. Use a 23 cm round pan, or rectangular if that's what you have; just adjust baking time by a few minutes if needed.
- Loosen the kataifi gently:
- Work your fingers through the frozen strands like you're fluffing hair, slow and patient. Rush this step and you'll end up with clumps instead of an even, delicate base.
- Build the first layer:
- Spread half the separated strands into the pan, pressing down lightly to form an even base—not so hard you compress them, just enough so they hold together. Drizzle with half the melted butter, making sure every corner gets some.
- Mix and spread the filling:
- In a bowl, combine all your chopped nuts with sugar, cinnamon, and cardamom. Taste a tiny pinch—you want the spices bright but not overwhelming. Spread this mixture evenly over the buttered kataifi layer, leaving just a thin border.
- Add the top layer:
- Place the remaining kataifi strands over the filling and press down very gently, as if you're tucking them in. Drizzle with the rest of the butter, getting into all the nooks and making sure the top looks golden even before it bakes.
- Bake until crackling:
- Slide into the oven for 30 to 35 minutes, watching for that deep golden color and listening for the faint crackling sound as the butter and pastry toast together. If the edges are browning too fast, tent loosely with foil.
- Make the syrup while it bakes:
- In a saucepan, combine sugar and water, bring to a boil, then let it simmer gently for 7 to 8 minutes until slightly thickened. Remove from heat, stir in honey and lemon juice, then add rose water or orange blossom water if you're using it—add it after the heat so you don't cook off its fragrance.
- The crucial syrup moment:
- The second the konafa comes out of the oven—and I mean immediately—pour the syrup evenly over the entire hot surface. You'll hear it sizzle and see it soak in instantly, and that's exactly what you want. This is where the magic happens.
- Cool with patience:
- Let it sit undisturbed for 30 minutes so the syrup can fully soak in and the pastry can set. Once cooled, slice into diamonds or squares with a sharp knife, wiping the blade between cuts so you get clean edges.
 Save to Pinterest
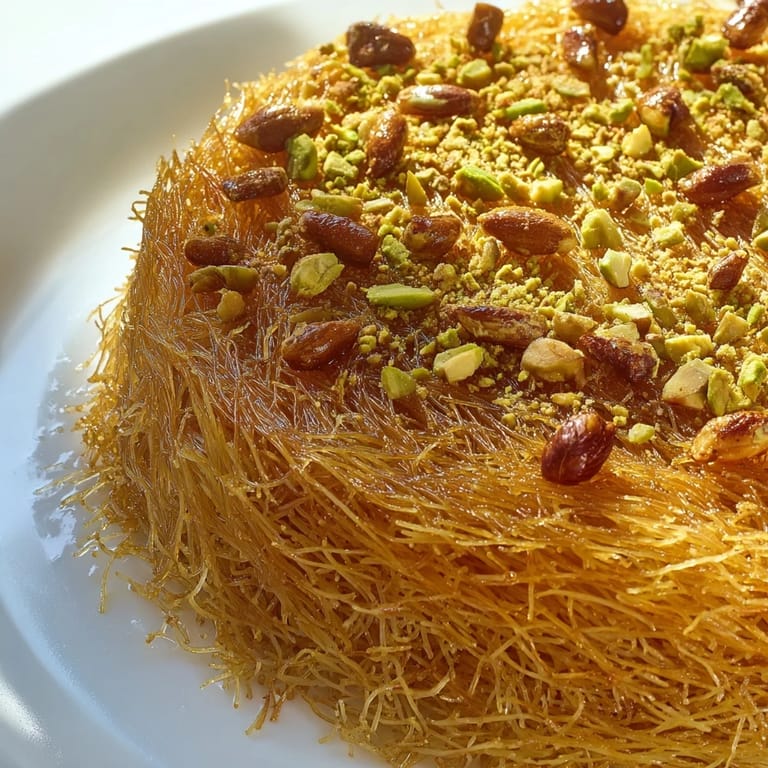
 The year I finally understood konafa was the year my mother-in-law taught me that dessert is how you say thank you without words. She made it for every milestone, every celebration, every time someone needed to feel welcomed. I watched her hands move with such love, and I understood it wasn't about perfection—it was about the choice to create something beautiful for the people you care about.
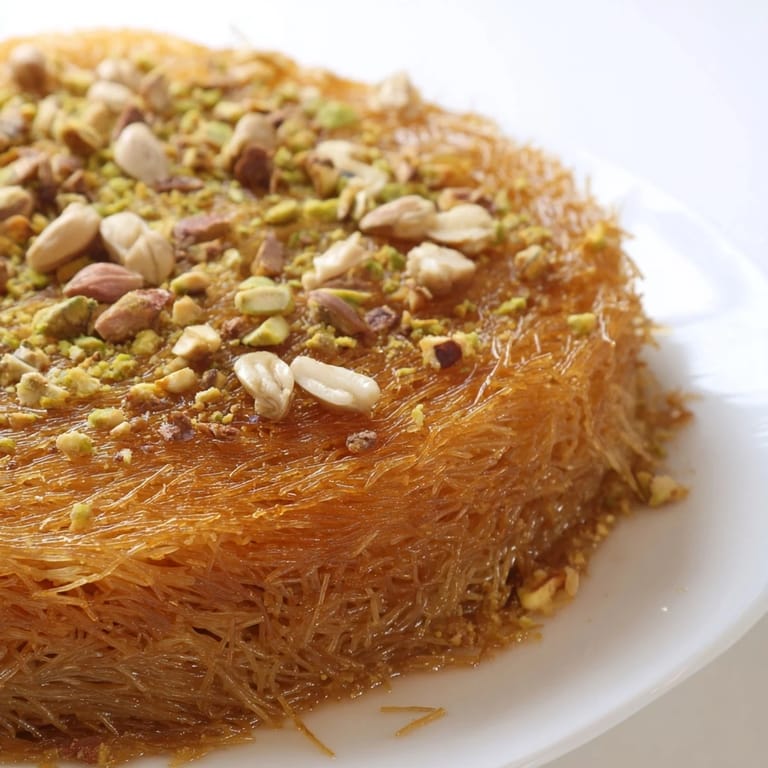
Why the Nut Combination Matters
Using three different nuts isn't just about texture, though the walnuts' earthiness, the pistachios' buttery sweetness, and the almonds' gentle crunch do matter. It's about building layers of flavor that keep surprising you—one bite tastes different from the next depending on which nut you encounter first. I learned this the hard way by making it with only walnuts once, and while it was fine, it was just fine. The variety is what makes people reach for another piece.
The Honey Syrup Secret
People think the syrup is just sweetness, but it's actually the backbone of the whole dessert. The lemon juice cuts through the honey so it doesn't feel cloying, and the rose water or orange blossom water—if you use it—adds this whisper of something elegant and unexpected. I once forgot the lemon juice and poured the syrup anyway, thinking it would be fine. It wasn't. The dessert tasted one-dimensional, heavy. Now I always remember: balance in the syrup means balance in every bite.
Serving and Storage Ideas
Konafa is best served the same day you make it, when the pastry still has that glorious crispness and hasn't started to soften. If you need to make it ahead, store it covered at room temperature for up to two days, though you can refresh it in a low oven for five minutes if it's lost some crackle. Some people love it with whipped cream or a dollop of clotted cream alongside, others think that's gilding the lily—try it plain first and decide for yourself.
- Slice it before guests arrive so everyone can simply help themselves without worrying about shattering the pastry.
- If you're doubling the recipe, use a larger baking dish or bake two rounds, because a thicker konafa bakes unevenly.
- Save any leftover nuts and cinnamon mixture in an airtight jar; it's wonderful scattered over yogurt or oatmeal the next morning.
 Save to Pinterest
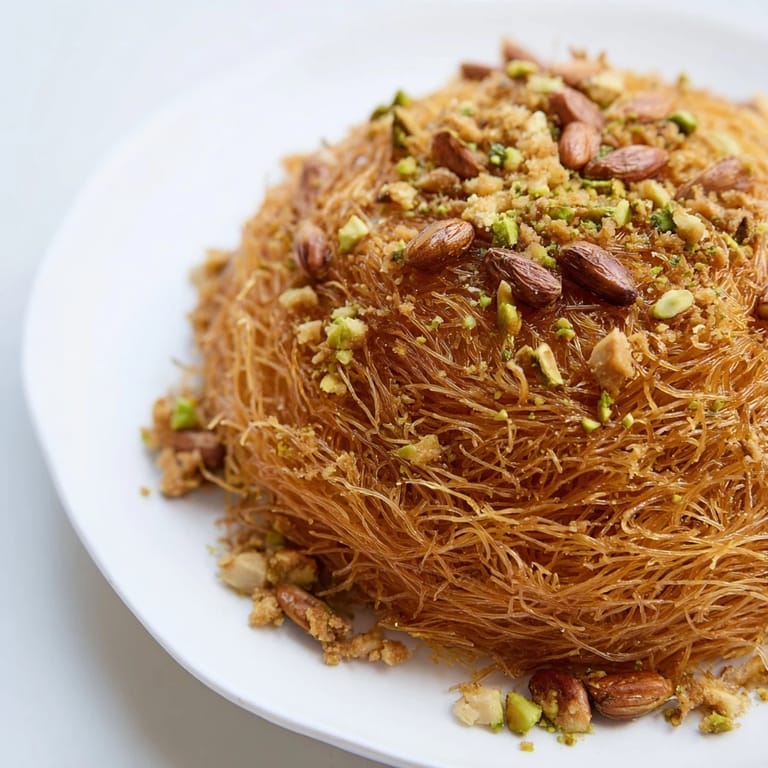
 There's something timeless about a dessert that's been made the same way for generations, each person adding their own small touch. This konafa is yours to make that way too.
Recipe FAQ
- → What type of dough is used for Konafa?
Kataifi dough, a shredded phyllo pastry, forms the crisp layers essential to Konafa’s texture.
- → Which nuts are typical in the filling?
Walnuts, pistachios, and almonds are finely chopped and spiced to create a flavorful nut filling.
- → How is the honey syrup prepared?
The syrup is made by boiling sugar and water, then adding honey, lemon juice, and optional floral water for aroma.
- → Can the nut mixture be substituted?
Yes, alternatives like hazelnuts, cashews, or pecans can be used for variety and personal preference.
- → What is the baking time and temperature?
Konafa is baked at 180°C (350°F) for 30–35 minutes until the pastry is golden and crisp.
- → How should Konafa be served?
Allow it to cool for about 30 minutes, then slice and serve at room temperature, optionally with fresh berries or cream.