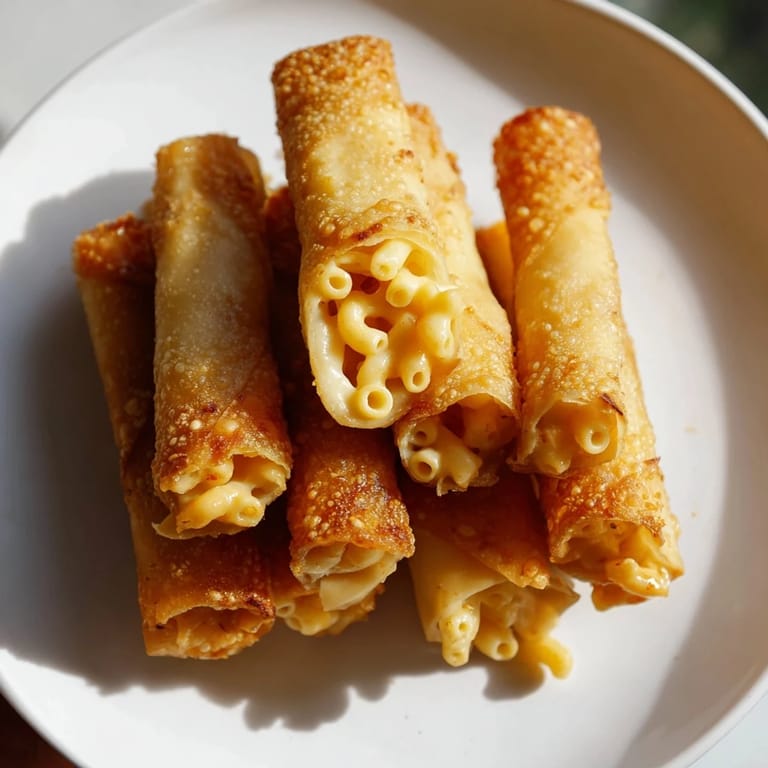
 Save to Pinterest
 I threw together these mac and cheese lumpia rolls one afternoon when I had leftover pasta and a pack of wrappers sitting in the freezer. My niece took one bite and declared it better than anything I'd ever made, which stung a little but also made me laugh. The idea felt ridiculous at first, wrapping comfort food in a crispy shell, but the contrast between the crunchy outside and the gooey center won everyone over. I've been making them for potlucks ever since, and they disappear faster than I can fry them. They're messy, fun, and completely worth the effort.
The first time I served these at a backyard gathering, my friend's husband ate six in a row and then asked if I had more in the kitchen. I didn't, but I promised to make a double batch next time. Watching people pick them up with their fingers, dip them in ketchup or sriracha, and smile between bites reminded me why I love cooking for others. These rolls turned a casual hangout into a moment everyone remembered, and I've been chasing that feeling ever since.
Ingredients
- Elbow macaroni: The classic shape holds the cheese sauce perfectly, and cooking it just to al dente keeps it from getting mushy inside the wrapper.
- Unsalted butter: Forms the base of the roux and adds richness without overpowering the cheese.
- All-purpose flour: Thickens the sauce so it clings to the pasta and doesn't leak out during rolling.
- Whole milk: Creates a creamy sauce that's smooth but not too heavy, and it melts the cheese beautifully.
- Sharp cheddar cheese: Brings bold, tangy flavor that stands up to the crispy wrapper and makes every bite satisfying.
- Mozzarella cheese: Adds stretchiness and a mild creaminess that balances the sharpness of the cheddar.
- Salt, black pepper, and smoked paprika: Season the filling and add a subtle smoky depth that makes the flavor feel more complex.
- Lumpia wrappers: Thin and crispy when air-fried, they're the perfect vehicle for the filling and easier to work with than you'd think.
- Egg: Beaten and brushed on the edges, it seals the rolls tightly so they don't burst open in the air fryer.
- Cooking spray or neutral oil: A light coating ensures the wrappers crisp up evenly without getting greasy.
Tired of Takeout? 🥡
Get 10 meals you can make faster than delivery arrives. Seriously.
One email. No spam. Unsubscribe anytime.
Instructions
- Cook the pasta:
- Boil the elbow macaroni in salted water until it's just tender but still has a little bite. Drain it well and set it aside so it doesn't keep cooking in its own steam.
- Make the roux:
- Melt the butter in a saucepan over medium heat, then stir in the flour and cook it for about a minute until it smells toasty and looks smooth. This step builds the foundation for a thick, creamy sauce.
- Add the milk:
- Pour in the milk slowly, whisking constantly so no lumps form. Keep stirring until the mixture thickens slightly, which should take around two to three minutes.
- Melt the cheese:
- Toss in the cheddar and mozzarella, stirring until they melt into a smooth, glossy sauce. Season with salt, pepper, and smoked paprika if you want a hint of smokiness.
- Combine with pasta:
- Stir the cooked macaroni into the cheese sauce until every piece is coated. Let the mixture cool for ten to fifteen minutes so it firms up and becomes easier to roll without oozing everywhere.
- Assemble the rolls:
- Lay a lumpia wrapper flat, spoon two to three tablespoons of mac and cheese near the bottom edge, then fold the sides in and roll it up tightly. Brush the top edge with beaten egg to seal it shut, and repeat until you run out of filling.
- Preheat the air fryer:
- Set your air fryer to 200 degrees Celsius (400 degrees Fahrenheit) and let it heat up for about three minutes. Preheating helps the wrappers crisp up evenly from the start.
- Air-fry the rolls:
- Lightly spray or brush the rolls with oil, then arrange them in a single layer in the basket. Cook for eight to ten minutes, flipping them halfway through, until they're golden and crispy all over.
- Serve warm:
- Pull them out of the air fryer and let them cool for a minute or two. Serve them with ketchup, sriracha, or a warm cheese dipping sauce on the side.
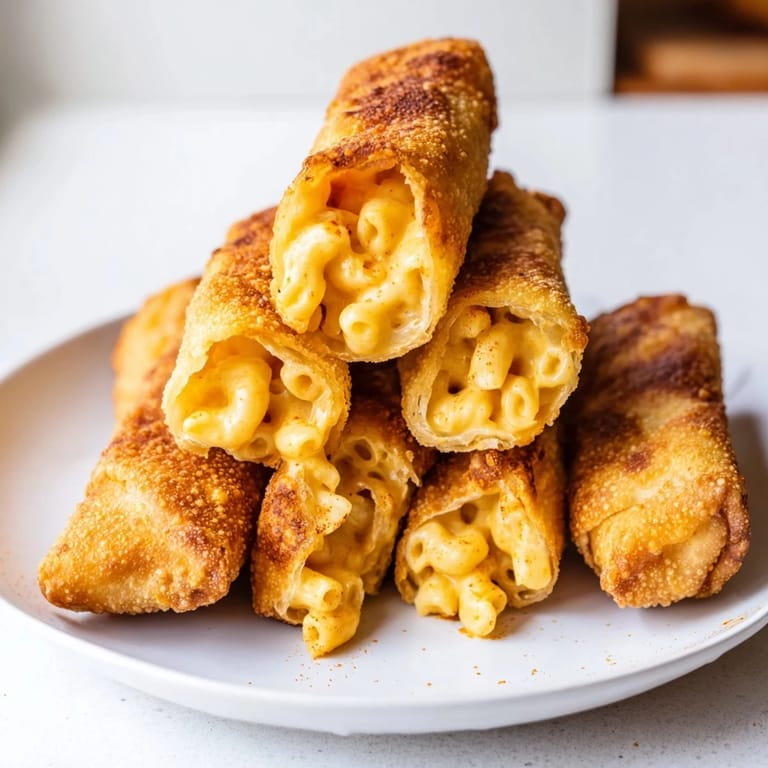 Save to Pinterest
 One evening, I made a batch of these for my nephew's birthday party, and the kids lined up at the kitchen counter asking if they could help roll them. We turned it into a little assembly line, and even though half the rolls were lumpy and crooked, they all crisped up beautifully in the air fryer. Watching them work together, giggling over the ones that looked funny, reminded me that cooking doesn't have to be perfect to be memorable. Those wonky lumpia rolls tasted just as good as the neat ones, and the kids were so proud of what they'd made.
Making Ahead and Storing
You can roll these up to a day in advance and keep them covered in the fridge until you're ready to air-fry them. If you want to freeze them, arrange the uncooked rolls on a baking sheet, freeze until solid, then transfer them to a freezer bag. Air-fry them straight from frozen, adding an extra two to three minutes to the cooking time. Cooked rolls will keep in the fridge for up to three days, and you can reheat them in the air fryer for a few minutes to bring back the crispiness.
Flavor Variations
I've tried adding crispy bacon bits and chopped scallions to the filling, and both make the rolls feel more indulgent and savory. If you like heat, stir in a little hot sauce or diced jalapeños before rolling. Swapping the cheddar for pepper jack or adding a handful of shredded Gruyère gives the filling a sharper, more grown-up flavor. You can also experiment with different pasta shapes, though smaller ones like ditalini or shells work best for rolling.
Serving Suggestions
These rolls are best served warm, straight out of the air fryer, with a variety of dipping sauces set out on the table. Ketchup is a classic choice, but sriracha mayo, garlic aioli, or a warm cheese sauce take them to the next level. I like to arrange them on a platter with a few fresh herbs or a sprinkle of smoked paprika for color.
- Pair them with a simple green salad to balance out the richness.
- Serve them alongside chicken wings or sliders for a fun, shareable spread.
- Set out a few different dipping sauces and let everyone customize their experience.
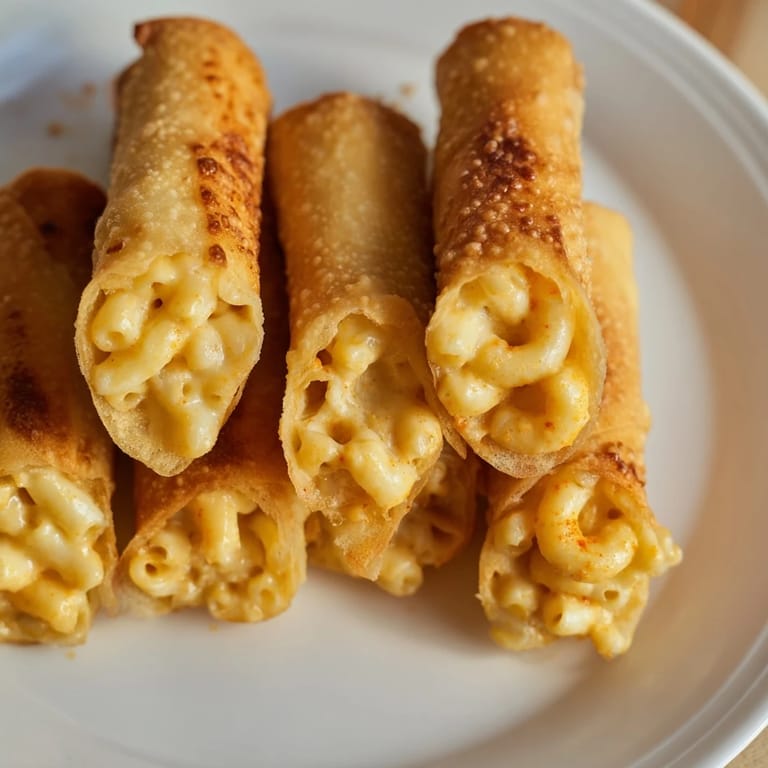 Save to Pinterest
 Every time I make these, I'm reminded that the best recipes are the ones that make people smile and ask for the recipe. These mac and cheese lumpia rolls are fun, comforting, and always a hit, no matter who's at the table.
Recipe FAQ
- → What type of cheese works best for the filling?
Sharp cheddar and mozzarella blend well to create a creamy, flavorful filling that melts smoothly inside the rolls.
- → Can I use a different type of wrapper?
Yes, spring roll wrappers can substitute lumpia wrappers without affecting taste or texture significantly.
- → How do I ensure the rolls stay sealed during cooking?
Brush the edges with beaten egg before rolling to create a strong seal that prevents filling leakage while air-frying.
- → Is air frying necessary, or can I bake them?
Air frying provides a crisp texture quickly, but baking at a high temperature until golden can be an alternative method.
- → What can I add for extra flavor in the filling?
Mix in crispy bacon bits, chopped scallions, or a dash of hot sauce for a spicy kick and added depth.