 Save to Pinterest
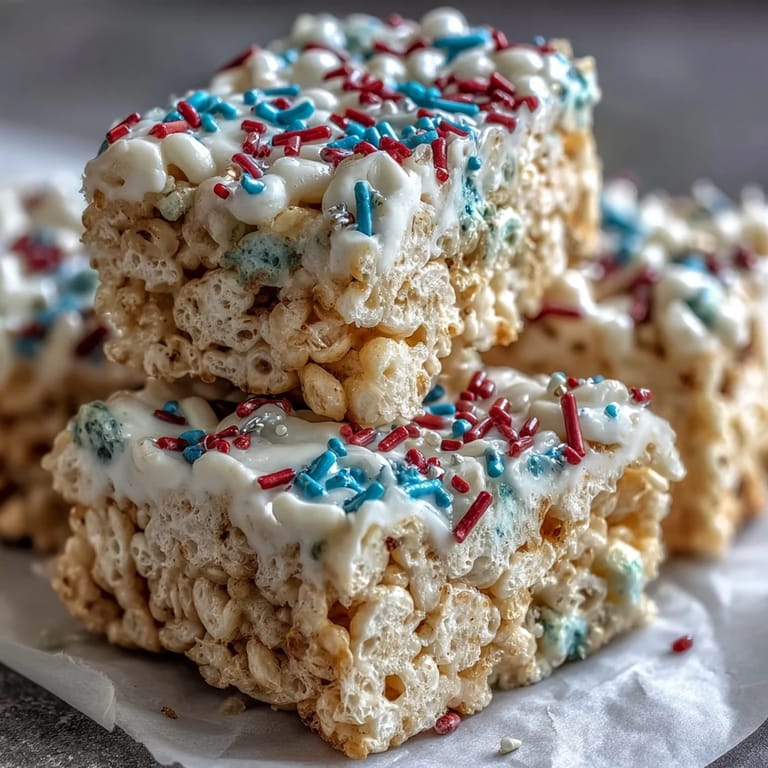
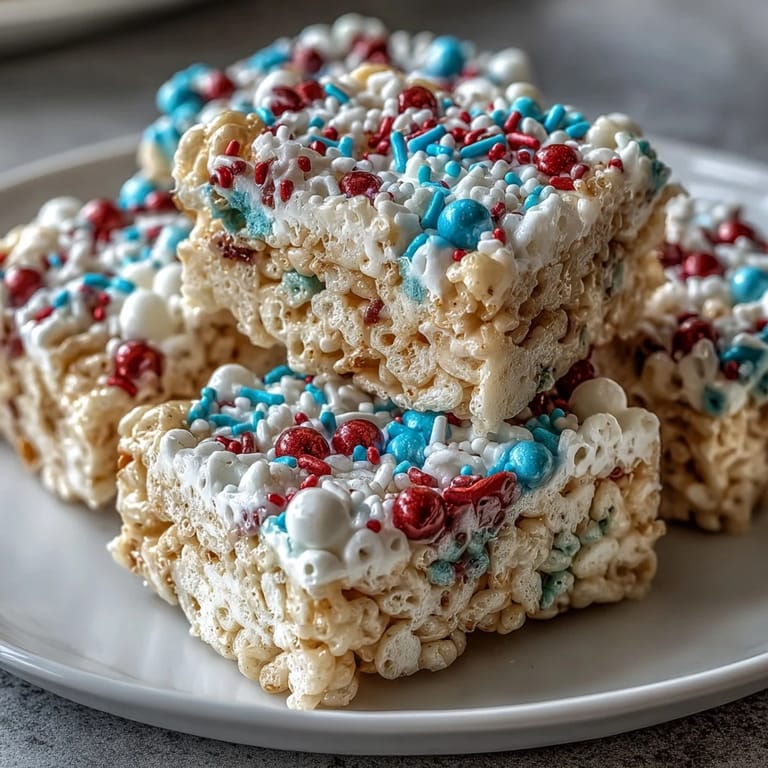
 My neighbor showed up at my door one July afternoon with a tray of the most stunning red, white, and blue Rice Krispies treats I'd ever seen, and I immediately knew I had to figure out how to make them myself. There's something about that combo of patriotic colors and that nostalgic marshmallow-cereal texture that just hits different when you're planning a backyard gathering. After a few attempts—and one memorable moment where I used liquid food coloring and ended up with a soggy mess—I finally cracked the code. Now every summer, these treats become my go-to for Fourth of July parties, potlucks, and honestly, just because someone in the house has a craving for something sweet and festive.
I'll never forget the year my sister brought these to our family cookout, and my five-year-old nephew became convinced they were actual American flag candy—he ate three pieces before anyone could explain the patriotic theme. His excitement was so genuine that I realized this recipe isn't just about dessert; it's about creating a moment that sticks with people. Now whenever I make a batch, I'm not just combining marshmallows and cereal; I'm making memories that taste like summer.
Ingredients
- Rice Krispies cereal: You need 6 cups total, and I've learned that using the original variety gives the best texture—the newer flavored versions can throw off the balance.
- Mini marshmallows: One 10-ounce bag divided equally across three layers; mini marshmallows melt faster and more evenly than the large ones.
- Unsalted butter: 3 tablespoons total split into thirds, which gives you control over the saltiness and lets the marshmallow flavor shine through.
- Vanilla extract: Just a half teaspoon for the white layer, and trust me, it makes a subtle but noticeable difference in keeping that layer interesting.
- Red and blue gel food coloring: This is non-negotiable—liquid coloring will waterlog your mixture and ruin the texture you're after.
- Red, white, and blue sprinkles: Optional but honestly worth it for that extra festive touch when the treats are still slightly warm and the sprinkles stick naturally.
Tired of Takeout? 🥡
Get 10 meals you can make faster than delivery arrives. Seriously.
One email. No spam. Unsubscribe anytime.
Instructions
- Prep your pan like you mean it:
- Line a 9x9-inch pan with parchment paper and give it a light grease—this step saves you from frustration later when you're trying to lift these treats out. I learned this the hard way after my first batch stuck stubbornly to the corners.
- Divide everything into thirds:
- Split your marshmallows and butter into three equal portions before you start cooking, so you're not scrambling mid-layer to figure out measurements. This keeps your momentum going and prevents the annoying situation of running out of marshmallows for your final layer.
- Make the red layer:
- Melt 1 tablespoon of butter over low heat in your saucepan, then add 3 1/3 cups of marshmallows and stir constantly until they're completely smooth and glossy. Once melted, add just a few drops of red gel coloring at a time—you can always add more, but you can't take it out—then fold in 2 cups of cereal until everything is evenly coated and press it firmly but gently into the bottom of your pan.
- Create the white layer:
- Wipe your saucepan clean (any leftover red bits will muddy the white), melt another tablespoon of butter, and repeat with the second portion of marshmallows. This time, stir in the vanilla extract for subtle depth, then add your cereal and carefully press this layer on top of the red one—don't smash it, just use firm but gentle pressure.
- Top with blue:
- Using the same clean-pan method, melt the final butter and marshmallows, color them with blue gel, combine with the remaining cereal, and press this third layer on top. The weight of each layer actually helps compress the one below it naturally, so you don't need to overthink the pressing.
- Add sprinkles if you're feeling fancy:
- While the top layer is still slightly warm, sprinkle on your patriotic mix if you're using them—they'll stick better and look more intentional than adding them after everything cools.
- Let time do its thing:
- Give these treats at least one full hour to cool and set completely; I've tried cutting them early and ended up with a gooey mess. Once they're fully cool and firm, use the parchment paper to lift the whole thing out, then slice into 16 squares with a sharp, lightly oiled knife.
 Save to Pinterest
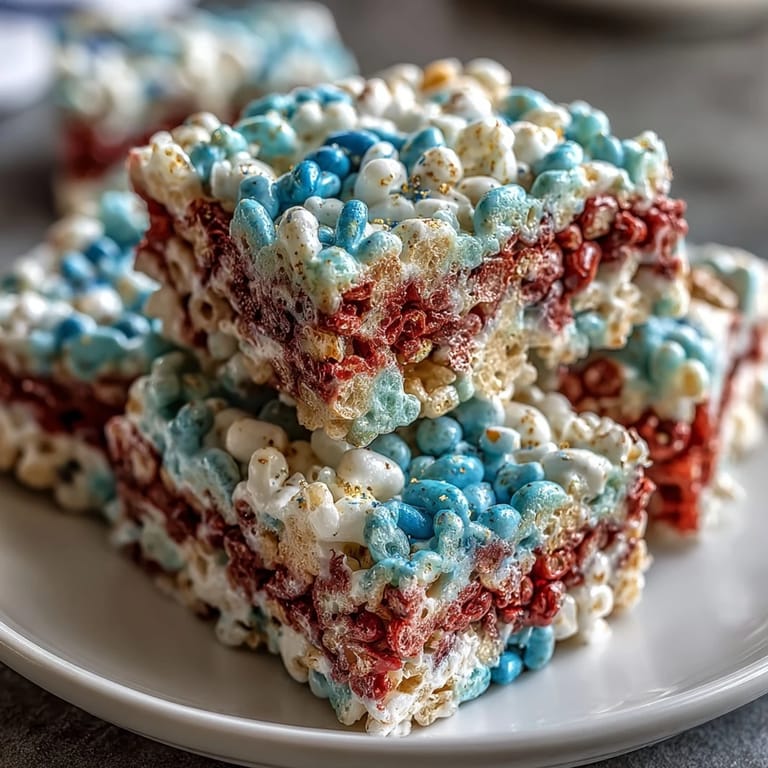
 There's a quiet satisfaction that comes from slicing through these treats and seeing those three perfect layers stacked in your pan, knowing you created something that looks like it came from a bakery. When people bite into them and their faces light up with that combination of surprise and delight, you realize these little squares are doing more than just satisfying a sweet tooth.
Why Gel Coloring Changes Everything
The difference between gel and liquid food coloring might seem minor until you're standing in front of your stove watching a perfectly good batch of marshmallows turn into something resembling wet sand. Gel coloring gives you vibrant, rich colors without adding extra moisture to your mixture, which means your treats stay chewy and hold their structure beautifully. Liquid coloring, on the other hand, breaks down the marshmallow structure and prevents that satisfying set that makes these treats so texturally perfect.
The Vanilla Layer Secret
That vanilla extract in the white layer might seem like a throwaway ingredient, but it's actually what keeps the middle section interesting instead of just being plain marshmallow and cereal. Without it, the white layer tastes a bit one-note and forgettable, but with even that half teaspoon, it has a subtle warmth that makes people pause and wonder what flavor they're tasting. It's one of those subtle kitchen discoveries that makes people ask for your recipe because something about it just tastes better than they expected.
Storage and Serving Tips
These treats are actually more durable than you'd think and will stay fresh in an airtight container for up to three days, which is helpful if you're making them for an event and don't want to wait until the last minute. They travel well to potlucks and picnics as long as they're stored properly, though I've learned not to pack them too tightly or the weight will compress the delicate layers.
- Cut your squares with a sharp knife that you've lightly oiled or wiped with parchment paper to prevent sticking and get cleaner edges.
- Keep them in an airtight container at room temperature; refrigerating them makes them harder to bite through and changes the texture in a way that's not ideal.
- If you're making these ahead of time, wait to add sprinkles until just before serving so they stay vibrant and don't lose their color intensity.
 Save to Pinterest
 These patriotic treats have become my answer to the question of what to bring to a summer gathering when you want to impress without spending your whole day in the kitchen. They're the kind of dessert that makes people smile and reaches for a second square almost without thinking.
Recipe FAQ
- → What type of food coloring works best?
Gel food coloring is ideal as it provides vibrant hues without adding extra moisture, helping keep the mixture chewy.
- → How can I prevent the layers from sticking while pressing?
Lightly greasing your hands or spatula before pressing each layer helps achieve even, smooth layers without sticking.
- → Can I add extra flavor to these treats?
Adding a pinch of salt or using salted butter enhances flavor, balancing the sweetness of marshmallows and cereal.
- → How should the treats be stored after preparation?
Store them in an airtight container at room temperature for up to three days to maintain freshness and texture.
- → What is the best pan size for shaping these treats?
A 9x9-inch baking pan lined with parchment paper works well to evenly press and set the layers into squares.
- → Is there a recommended cooling time before serving?
Allow the treats to cool and set for at least one hour so the layers firm up and slice cleanly.