 Save to Pinterest
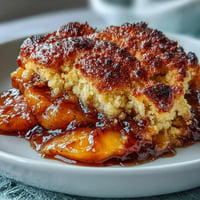
 There's a particular moment in late afternoon when my kitchen fills with the smell of caramelizing onions, and suddenly the entire house feels like a proper bakery. That's when I know this sourdough focaccia is coming together the way it should—nothing fancy, just a few simple ingredients transformed into something that tastes like it took far more effort than it actually did. My neighbor once caught the aroma wafting through our shared wall and showed up at my door with absolutely no shame, and I knew right then that this recipe had become something worth perfecting. It's the kind of bread that makes people understand why Italians take their food so seriously, and honestly, it's easier to make than most people think.
I'll never forget making this for a friend's impromptu dinner party when she mentioned she'd been craving good bread. The dough was already in its cold rest, so I pulled it from the fridge that morning, caramelized the onions while tidying up, and somehow managed to have a genuinely beautiful focaccia ready by evening without any stress. She cut into it and the steam rose up in this perfect cloud, and suddenly the whole meal felt less about what I'd cooked and more about the fact that we'd both slowed down long enough to sit together and actually taste things.
Ingredients
- Active sourdough starter (100 g, 100% hydration): This is your living leavening agent—make sure it's bubbly and smells pleasantly sour before you start, ideally fed 4–6 hours prior.
- Bread flour (400 g): The higher protein content builds structure that gives you those beautiful open crumb holes; all-purpose works if that's what you have, though the texture will be slightly less dramatic.
- Lukewarm water (300 ml): Temperature matters more than you'd think—too cold and fermentation stalls, too hot and you'll kill your starter.
- Fine sea salt (10 g): This goes in after the autolyse to avoid interfering with gluten development, a lesson I learned through one very dense loaf.
- Extra-virgin olive oil (20 ml, plus more for oiling and drizzling): Don't skimp here; the quality makes a noticeable difference in both flavor and the final texture of the crust.
- Yellow onions (2 medium, thinly sliced): The thinner you slice them, the more evenly they caramelize and the better they distribute across the dough.
- Flaky sea salt (1 tsp for topping): This stays on the surface, so it adds a burst of salinity with every bite rather than blending into the dough.
- Fresh rosemary leaves (1 tsp, optional): If you have it, it adds a subtle earthiness that somehow makes the onions taste even sweeter.
- Freshly ground black pepper (optional): A small pinch balances the sweetness of the caramelized onions without overwhelming them.
Tired of Takeout? 🥡
Get 10 meals you can make faster than delivery arrives. Seriously.
One email. No spam. Unsubscribe anytime.
Instructions
- Start your dough with an autolyse:
- Combine your active sourdough starter, bread flour, and lukewarm water in a large bowl and stir until everything is shaggy and no dry flour remains. The mixture won't look like much yet, but this rest period allows the flour to fully absorb water and begins gluten development naturally. Cover it and let it sit for 30 minutes while you do something else.
- Incorporate salt and fat:
- After the autolyse, sprinkle salt and olive oil over the dough and mix thoroughly until they're fully incorporated. This is easier than it sounds because the dough has already come together and will accept these additions without much resistance.
- Build strength through stretch and folds:
- Every 30 minutes for the next 2 hours, wet your hand, grab one side of the dough, stretch it up and fold it over the center, then rotate the bowl and repeat three more times. This mimics the effect of traditional kneading but is less aggressive and somehow feels more meditative.
- Allow bulk fermentation:
- Cover the bowl loosely and let it rise at room temperature for 6–8 hours, or until it's noticeably puffy and roughly doubled in size. You're looking for visible bubbles and a dough that jiggles slightly when you shake the bowl.
- Transfer to your pan:
- Generously oil a 9x13-inch baking pan, then gently transfer your dough without deflating it. Use oiled fingers to stretch and press it to fit, being careful not to pop all those beautiful air bubbles you've spent hours building.
- Cold-proof overnight:
- Cover the pan and refrigerate for 8–12 hours, which develops flavor and makes the dough easier to shape in the morning. This is the secret that separates decent focaccia from focaccia that actually tastes like something.
- Caramelize your onions:
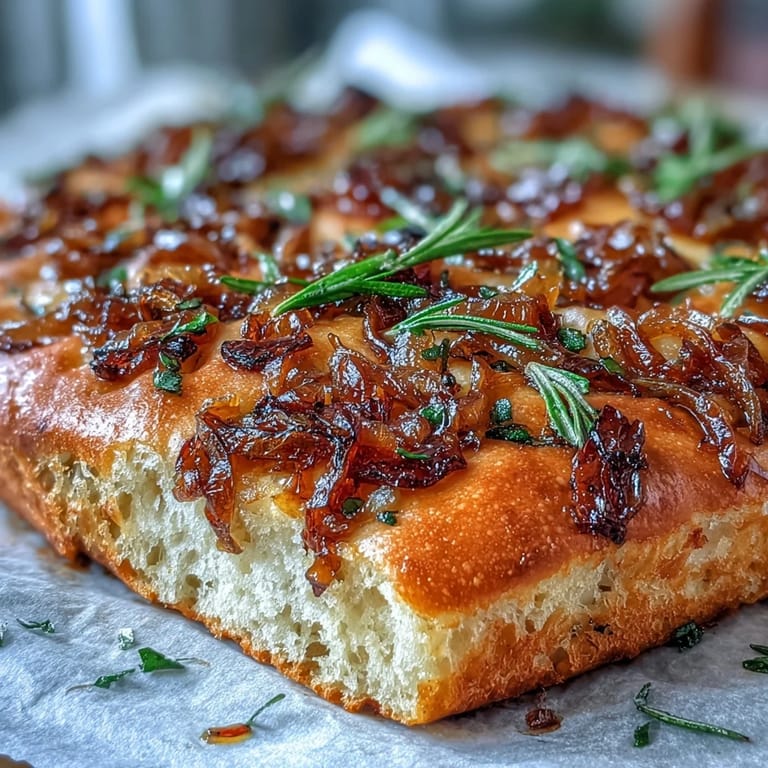
- While the dough rests, heat 1 tablespoon of olive oil in a skillet over medium-low heat and add your thinly sliced onions. Stir occasionally over 20–25 minutes until they're golden, soft, and almost jammy—the low heat is crucial because rushing this step means they'll brown instead of caramelize, which tastes completely different.
- Bring dough to room temperature:
- Remove the pan from the refrigerator about 1 hour before baking. The dough will continue rising slowly as it warms, which gives you a lighter, airier final texture.
- Dimple and top:
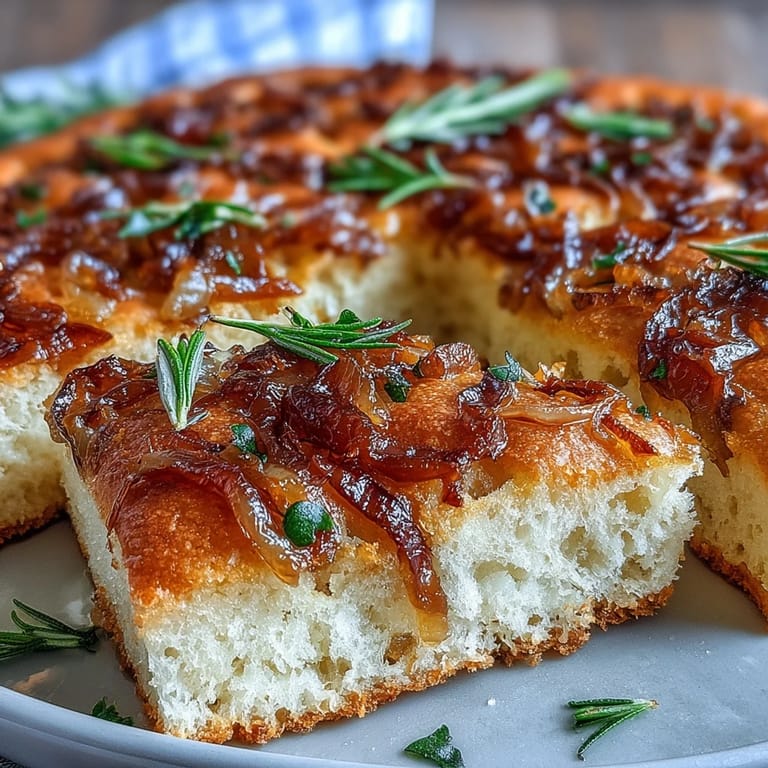
- Preheat your oven to 220°C (425°F), then use your fingertips to gently press dimples all over the dough's surface, giving it that signature focaccia look. Drizzle lightly with olive oil, then scatter your cooled caramelized onions, flaky sea salt, rosemary, and black pepper evenly across the top.
- Bake until golden:
- Bake for 25–30 minutes until the surface is deep golden brown and the edges are crisp. The focaccia should sound hollow when tapped on the bottom.
- Cool and serve:
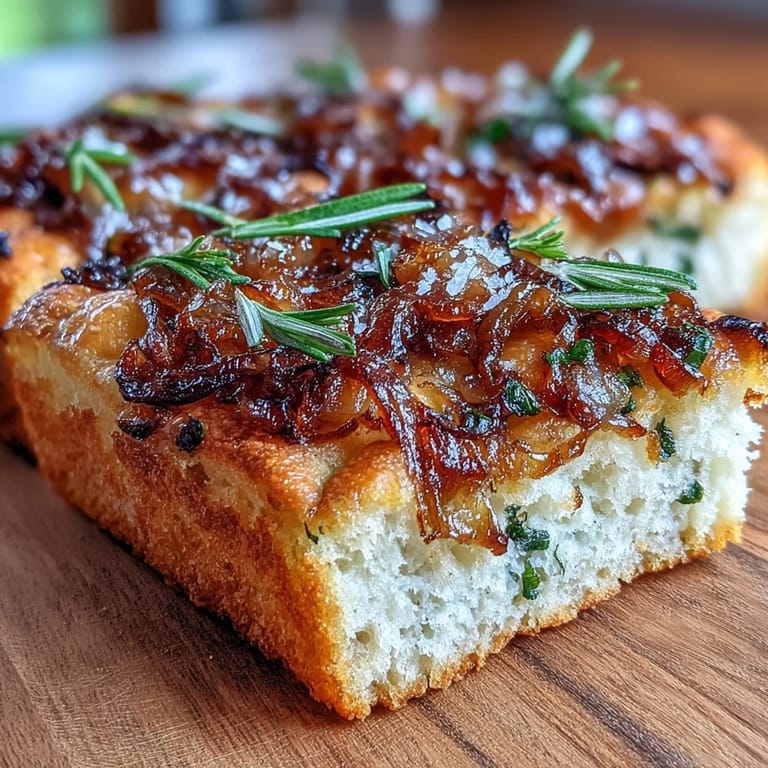
- Let it cool for a few minutes before slicing, though it's best served while still warm enough that the crumb is tender.
 Save to Pinterest
 One morning I pulled this focaccia from the oven while my daughter was getting ready for school, and she came downstairs, stopped mid-stride, and just stood there breathing in. She didn't say anything, but the way her expression softened told me everything I needed to know about why people have been making bread the same way for thousands of years. Sometimes the most ordinary ingredients in your pantry can create moments that feel genuinely special.
Fermentation Timing and Temperature
The timeline I've given you assumes a room temperature around 20–22°C (68–72°F). If your kitchen runs warmer, your bulk fermentation might finish in 5 hours instead of 8, which is completely fine—watch the dough rather than the clock, because every kitchen is different. Cold weather means everything takes longer, which honestly gives you more flexibility in your schedule. I once left dough to ferment in an unheated guest room during winter and it took almost 10 hours, but it was the most flavorful batch I've ever made.
Why Cold Fermentation Changes Everything
The overnight rest in the refrigerator does something chemical to the dough that you can't replicate by rushing. The cold slows yeast activity while bacteria continue working, which builds complex flavor compounds that taste intentional rather than accidental. It also makes the dough less sticky and easier to handle in the morning, which means you're more likely to keep those beautiful air pockets intact. If you're short on time and skip the cold fermentation entirely, you'll still get focaccia, but it'll taste like you took a shortcut.
Variations and Serving Ideas
Once you've made this version a few times and it feels natural, you can start playing with toppings without changing the base dough. Some people add sliced olives or sun-dried tomatoes alongside the onions, which adds brightness, or scatter crispy anchovies on top right out of the oven for unexpected depth. Leftovers toast beautifully in a toaster oven the next day if you slice them in half horizontally, though honestly they rarely last long enough to become leftovers.
- Try tearing pieces off warm and dipping them into good olive oil with cracked pepper for a simple appetizer.
- Split it horizontally and use it as sandwich bread for roasted vegetables or soft cheeses.
- Pair it with crisp white wine or a light red if you're serving it as part of a meal rather than on its own.
 Save to Pinterest
 This focaccia taught me that good bread isn't about having special skills or secret ingredients—it's about understanding that time and patience create flavor in ways that rushing never can. Make it once and it becomes something you'll want to make again.
Recipe FAQ
- → How does the overnight rest improve the focaccia?
Allowing the dough to rest overnight in the refrigerator develops complex flavors and enhances the texture, resulting in a chewier and more airy bread.
- → What is the purpose of stretch and folds during dough preparation?
Stretch and folds strengthen gluten strands, improving dough elasticity and helping create an airy crumb in the focaccia.
- → How do I caramelize onions for the topping?
Cook thinly sliced onions slowly over medium-low heat with olive oil, stirring occasionally until golden brown and sweet, typically 20-25 minutes.
- → Can I add other toppings to this bread?
Yes, additions like sliced olives or sun-dried tomatoes complement the caramelized onions and add extra flavor layers.
- → What baking pan size is recommended?
A 9x13-inch (23x33 cm) baking pan is ideal for shaping and baking the focaccia evenly.