 Save to Pinterest
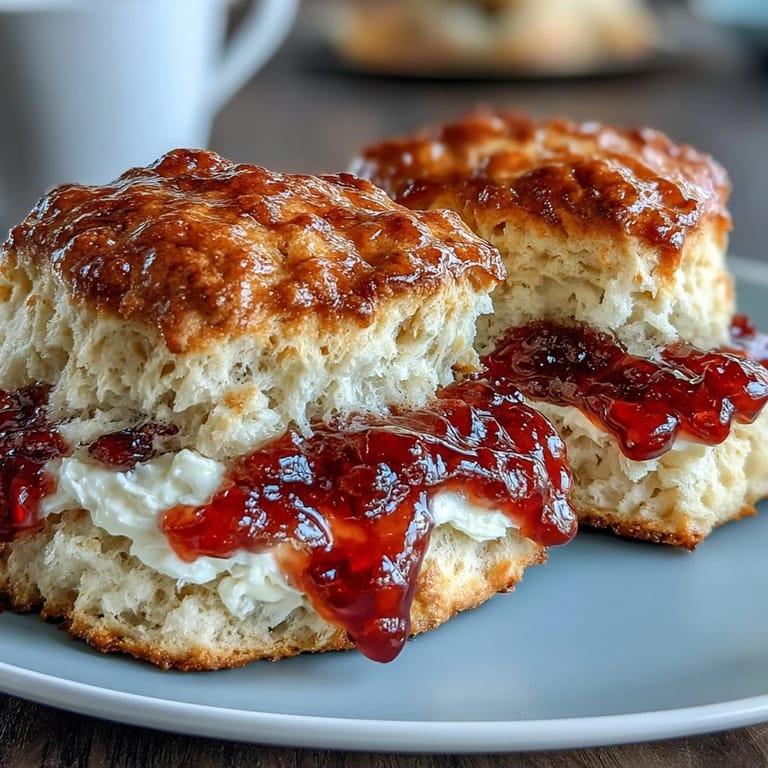
 There's something about the smell of scones baking on a quiet spring morning that stops time. I learned to make these during a particularly grey week when a friend mentioned she'd never had a proper cream tea, and suddenly I was determined to change that. The kitchen filled with buttery warmth, and by the time they came out golden and steaming, I understood why this simple recipe has been treasured for generations. It's not about complexity—it's about getting the few ingredients to work in perfect harmony.
I'll never forget serving these warm to my neighbor who'd just moved in, watching her close her eyes after that first bite and simply say, nothing else needed. That moment taught me these scones aren't really about impressing anyone—they're about creating a small pocket of joy in an ordinary afternoon. She became a regular at my spring tea gatherings after that.
Ingredients
- All-purpose flour (2 cups): The foundation of tender scones—measuring by weight rather than scooping prevents the dense, tough texture that ruins so many batches.
- Granulated sugar (1/4 cup): Just enough to whisper sweetness without making these compete with the jam and cream you'll add later.
- Baking powder (1 tablespoon): The magic that gives scones their signature rise and airy interior, so check your container for freshness before mixing.
- Fine sea salt (1/2 teaspoon): Balances the sweetness and deepens the buttery flavor in ways you won't consciously notice but will absolutely taste.
- Unsalted butter, cold and cubed (1/2 cup): Must be cold—this is non-negotiable—because the small butter pieces create steam pockets that make scones light and tender rather than dense.
- Whole milk plus extra for brushing (2/3 cup): Whole milk creates richness; the extra bit you brush on top gives that beautiful golden finish.
- Large egg (1): Binds everything together and contributes to the tender crumb structure.
- Pure vanilla extract (1 teaspoon): A small amount that adds warmth and depth without making the scones taste like vanilla cake.
- Clotted cream (1 cup) and quality fruit jam (1 cup): These deserve attention—seek out proper clotted cream if possible, and choose jam that makes you happy when you taste it plain on a spoon.
Tired of Takeout? 🥡
Get 10 meals you can make faster than delivery arrives. Seriously.
One email. No spam. Unsubscribe anytime.
Instructions
- Get your oven ready and prep your workspace:
- Preheat to 425°F and line your baking sheet with parchment paper so the bottoms bake evenly without sticking. You want everything organized before you start working with the dough, since speed matters once the wet ingredients meet the dry.
- Build your dry base:
- Whisk together flour, sugar, baking powder, and salt in a large bowl, making sure the baking powder distributes evenly throughout—clumps of it create uneven rise. This step takes just a minute and prevents any bitter surprises later.
- Create the crumbly texture:
- Add your cold, cubed butter and use a pastry cutter or your fingertips to rub it into the flour mixture until it looks like coarse breadcrumbs. The butter pieces should remain distinct and visible—if you overwork this step and the mixture becomes smooth, your scones will be dense and tough.
- Mix the wet ingredients:
- In a small bowl, whisk together milk, egg, and vanilla until well combined. Keep this separate until the last moment, as you want to minimize mixing time once wet meets dry.
- Bring it together gently:
- Pour the wet mixture into the dry ingredients and gently mix with a fork until just barely combined—you're looking for a shaggy dough with some flour pockets still visible. This is where patience pays off; overworking develops gluten and makes scones tough.
- Shape your scones:
- Turn the dough out onto a lightly floured surface and pat it into a round about 1 inch thick using the heel of your hand. Use a 2.5-inch round cutter to stamp out 8 scones, pressing straight down without twisting, and gently gather scraps to re-roll once.
- Prepare for baking:
- Arrange scones on your prepared baking sheet, spacing them about 2 inches apart, then brush each top lightly with milk. This milk wash creates that signature golden shine as they bake.
- Bake until golden:
- Bake for 12 to 15 minutes—they're done when risen and the tops turn a beautiful pale gold. Your kitchen will smell absolutely incredible, and the moment you take them out, resist the urge to squeeze them; they'll continue to firm up slightly as they cool.
- Cool and serve:
- Transfer to a wire rack and let cool for just a few minutes until you can handle them comfortably. Serve warm with clotted cream and your chosen jam—split them in half and let people build their own little bites.
 Save to Pinterest
 There was an afternoon when three generations gathered around my kitchen table for tea—my daughter, my mother, and her youngest grandchild—all of them eating these scones with the kind of unselfconscious joy that reminded me why certain recipes matter. These scones became the thread that held that spring day together, simple flour and butter transformed into a memory.
The Secret of Tender Scones
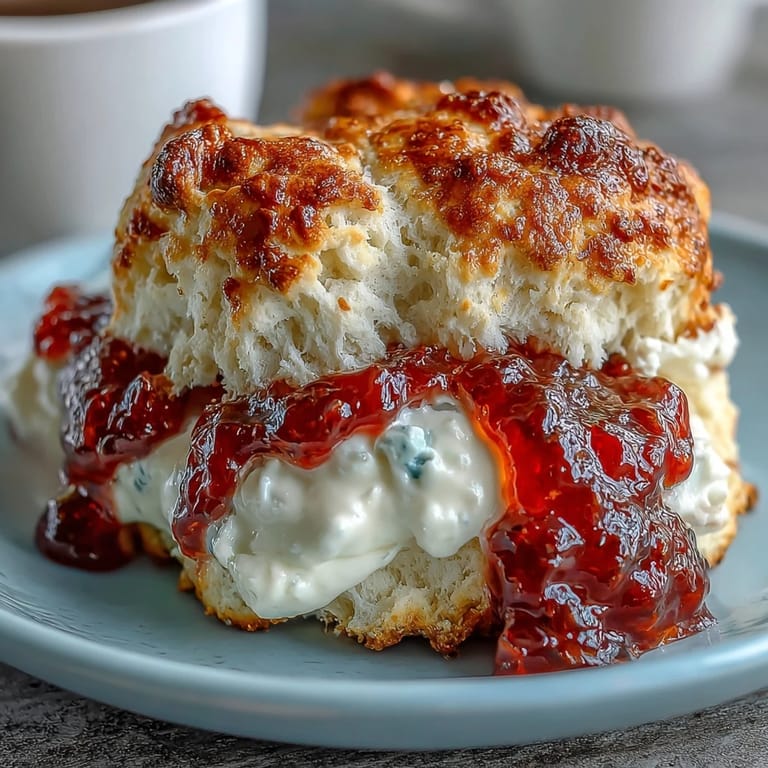
The difference between tender scones and disappointing hockey pucks comes down to understanding that your dough should look almost underdone when you bake it. The crumbly, shaggy texture feels wrong at first—you'll want to keep mixing—but that's exactly what creates the layers and air pockets that make scones sing. Trust the process and your fingertips more than your instinct to create a smooth, uniform dough.
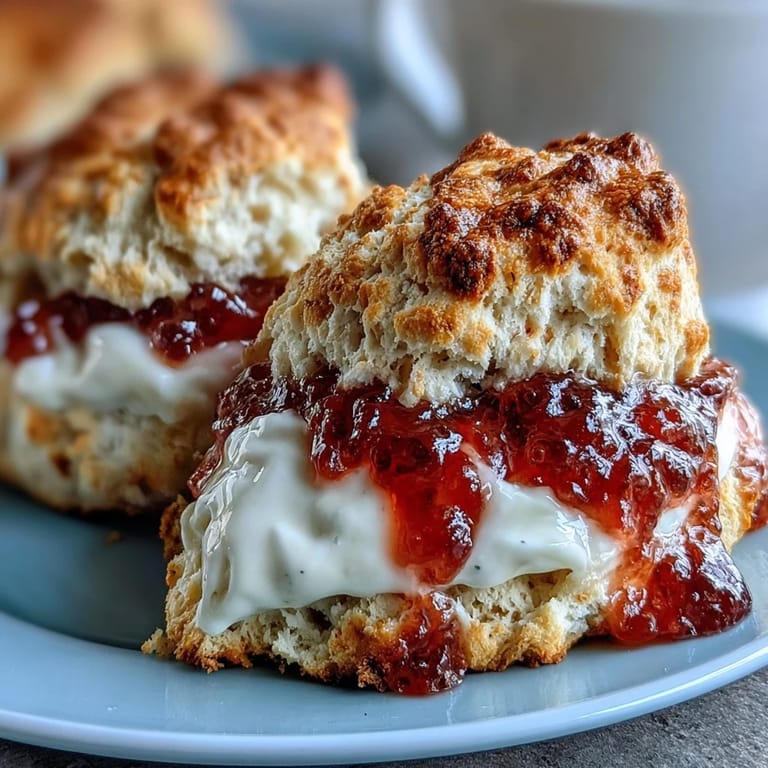
Cream and Jam: The Traditional Order
In Devon they serve cream first, then jam on top; in Cornwall it's jam first, then cream—and honestly, both are delicious so do whatever feels right to you. What matters is using generous amounts of both; these scones are sturdy enough to handle thick dollops without crumbling, and holding back on the toppings defeats the whole purpose. Quality clotted cream makes an enormous difference, so seek it out at a good market rather than settling for whipped cream as a substitute.
Variations and Make-Ahead Tips
Once you master the basic recipe, the world opens up—try replacing half the milk with heavy cream for extra richness, or swap the vanilla for almond extract for a delicate twist. Scones freeze beautifully, so you can bake a batch and reheat them gently in a 300°F oven for 8 minutes whenever spring tea calls for it. These moments of foresight let you serve something warm and homemade even on the busiest afternoons.
- For a lemon-forward version, add a tablespoon of lemon zest to the dry ingredients and serve with lemon curd instead of jam.
- Room-temperature scones are perfect for packing into a picnic basket if you're taking tea outdoors on a mild spring day.
- If your milk foams too much when brushing the tops, use a pastry brush and a lighter touch to avoid creating an uneven golden coat.
 Save to Pinterest
 These scones have become my quiet way of slowing down on busy mornings and saying I care to the people I feed them to. Once you've made them a few times, the rhythm becomes second nature, and you'll find yourself baking them whenever spring arrives and the urge for something warm and golden takes hold.
Recipe FAQ
- → What type of flour is best for scones?
All-purpose flour provides the right balance of gluten to create tender yet sturdy scones with a golden crust.
- → How can I make the scones more tender?
Using cold, cubed butter and not overmixing the dough helps keep the scones tender and flaky.
- → Can I substitute clotted cream with another spread?
Yes, thick whipped cream or mascarpone can be used, though clotted cream offers the signature creamy richness.
- → What is the purpose of brushing milk on scones before baking?
Brushing milk adds moisture and helps the scones develop a shiny, golden-brown crust.
- → How should I store leftover scones?
Store them in an airtight container at room temperature for up to two days or freeze for longer storage. Reheat before serving.
- → Can different jams be used with these scones?
Absolutely. Strawberry, raspberry, or even lemon curd can complement the scones beautifully.