 Save to Pinterest
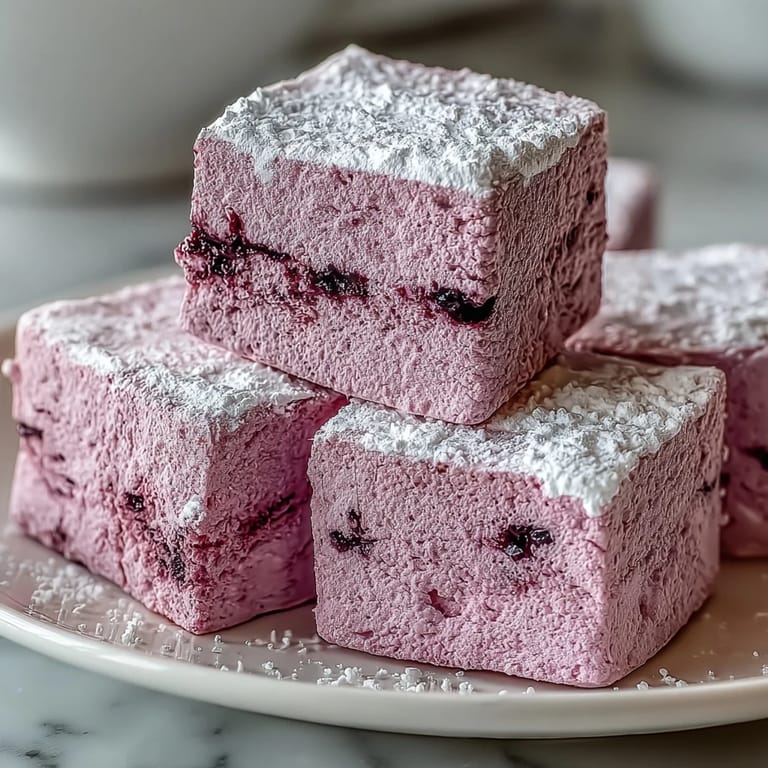
 I discovered blackcurrant marshmallows entirely by accident while browsing a London market, and the moment I bit into one, I was hooked by that tart-sweet punch hidden inside the cloud-like texture. There's something magical about that brief tartness cutting through the sweetness, nothing like the vanilla marshmallows I'd grown up with. When I finally decided to make them at home, I was nervous about the candy thermometer stage, but once I understood the rhythm of it, everything clicked into place. Now they're the first thing friends ask me to bring to gatherings, especially during autumn when hot cocoa season begins.
Last winter, I made a batch for my neighbor who was recovering from surgery, and watching her face light up when she tasted one was worth every minute of careful temperature-watching at the stove. She kept one on her nightstand just to nibble on, and that simple moment reminded me why homemade sweets matter so much more than store-bought.
Ingredients
- Blackcurrant Purée (2/3 cup/150 g): Use fresh or frozen blackcurrants blended and strained through a fine sieve; the tartness is what makes these marshmallows sing, so don't skip the straining step or you'll end up with gritty texture.
- Powdered Unflavored Gelatin (3 packets/21 g): This is your structural backbone, and blooming it properly means your marshmallows will have that signature pillowy bounce instead of becoming dense.
- Granulated Sugar (1 1/2 cups/300 g): Combined with corn syrup, it creates the syrup that gives marshmallows their airy, foam-like crumb.
- Light Corn Syrup (1/2 cup/120 ml): This prevents crystallization and keeps your marshmallows silky; don't substitute with honey as it will throw off the texture.
- Confectioners Sugar and Cornstarch (1/2 cup/60 g and 1/4 cup/30 g): Equal parts create the perfect non-stick coating that won't dissolve into your marshmallows or make them gritty.
- Vanilla Extract (1 tsp): Added at the end, it rounds out the tartness without overpowering the blackcurrant.
Tired of Takeout? 🥡
Get 10 meals you can make faster than delivery arrives. Seriously.
One email. No spam. Unsubscribe anytime.
Instructions
- Prepare Your Pan:
- Line an 8x8 inch baking pan with parchment paper and dust it generously with the confectioners sugar-cornstarch mixture, making sure to coat every corner so your marshmallows won't stick later.
- Cook Down the Blackcurrant:
- In a small saucepan, combine the purée, water, and sugar, then simmer over medium heat for 4 to 5 minutes, stirring occasionally until it thickens slightly and deepens in color. This concentrates the flavor and reduces excess moisture that could make your final marshmallows sticky.
- Bloom the Gelatin:
- Sprinkle gelatin over cold water in your stand mixer bowl and let it sit undisturbed for 10 minutes; you'll see it absorb the water and become spongy, which is exactly what you want.
- Cook the Syrup:
- In a medium saucepan, combine sugar, corn syrup, and water, then heat over medium-high, stirring gently until the sugar dissolves completely. Once it stops smoking, insert your candy thermometer and let it cook without stirring until it reaches 240°F; this takes about 5 to 7 minutes, and resisting the urge to stir is crucial for clarity.
- Whip the Magic:
- With the mixer running on low, pour the hot syrup slowly into the bloomed gelatin in a thin stream, then increase speed to high and whip for 6 to 8 minutes while watching the mixture transform from a pale cream to thick, glossy, and tripled in volume. You'll hear the mixer working harder as the mixture gets stiffer, and that's your sign you're building the right structure.
- Add the Flavor:
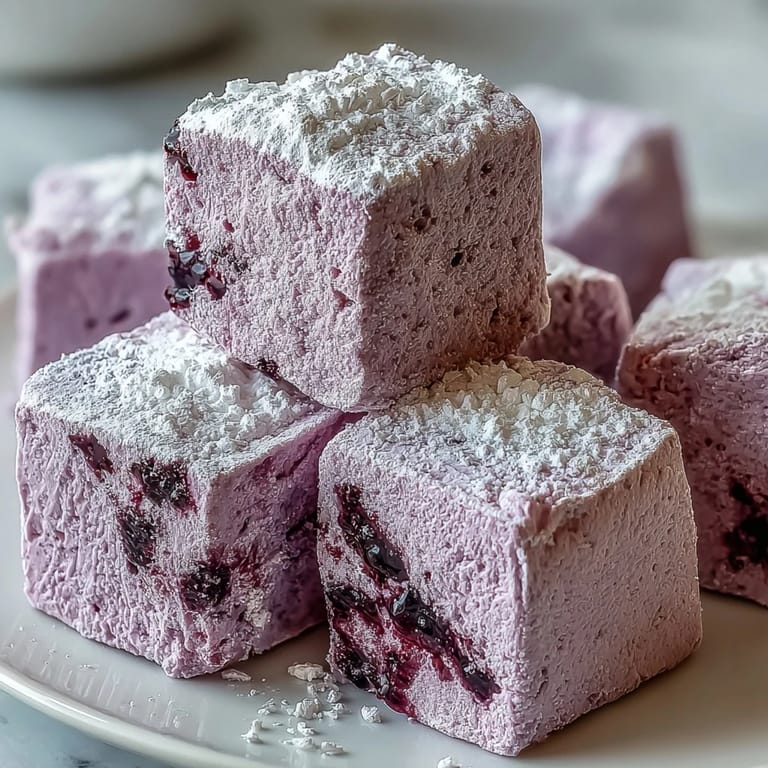
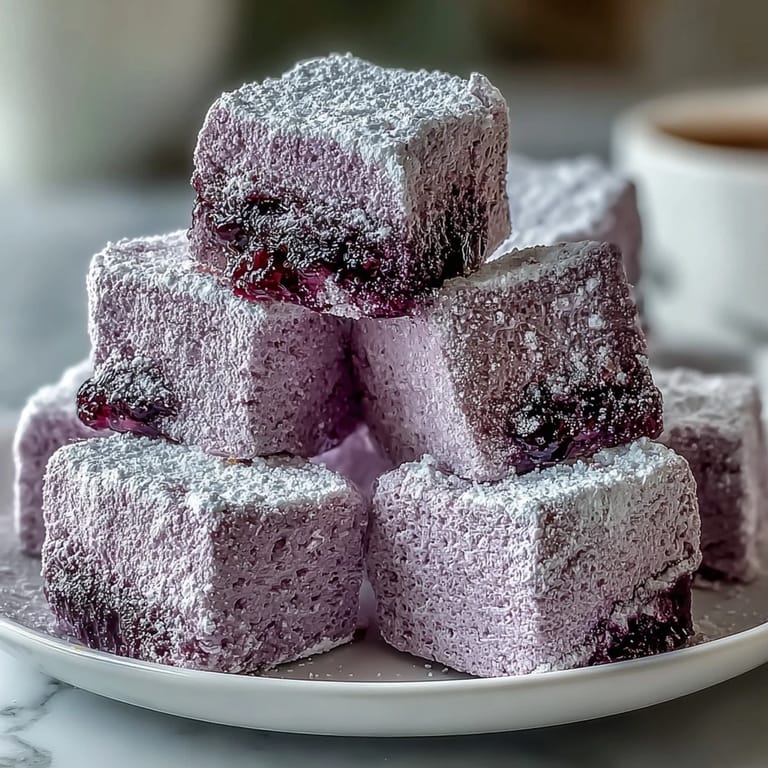
- Turn the mixer to low, add salt, vanilla, and the cooled blackcurrant purée, then whip for another 1 to 2 minutes until the color becomes a soft, dreamy lavender and everything is fully incorporated.
- Pour and Smooth:
- Immediately pour the fluffy mixture into your prepared pan and smooth the top with a spatula, working quickly because it will begin to set as it cools.
- Set and Rest:
- Leave the pan uncovered at room temperature for at least 4 hours, or overnight if you have the time; the surface should feel set when you gently touch it.
- Cut and Coat:
- Turn the entire slab out onto a cutting board, peel away the parchment, and dust all sides with the sugar-cornstarch mixture. Using a sharp knife that you've dusted in the same mixture (this prevents sticking), cut into 24 squares with confident, single strokes.
- Store with Care:
- Place finished marshmallows in an airtight container with parchment between layers to prevent sticking, and they'll keep for up to a week at room temperature.
 Save to Pinterest
 There's a peculiar joy in watching something so light and delicate come together from basic ingredients, and every time I make these, I'm amazed that something so impressive only requires patience and a stand mixer. My eight-year-old nephew now requests these for his birthday instead of cake, which says everything about how special they feel.
Why Blackcurrant Works So Well
Blackcurrants have this almost peppery tartness that doesn't fade into the sweetness like berries do; instead, it cuts right through the sugar and lingers on your tongue. I've tried adapting this recipe with other fruits, and while blackberry and raspberry versions are lovely, blackcurrant remains the gold standard because it's bold enough to hold its own against the sweetness of the marshmallow. The flavor profile lands somewhere between candy and sophisticated, which is why these disappear so quickly from the dessert table.
The Science Behind the Fluff
Marshmallows are basically edible foam, and understanding that changed how I approached making them. The gelatin provides the protein structure, the whipping incorporates air, and the sugar syrup at 240°F creates the right stiffness to trap all those tiny bubbles you're whipping in. Once I understood that every step served a specific purpose, I stopped being afraid of the recipe and started trusting the process.
Serving Suggestions and Storage
These marshmallows are pure joy on their own, but they truly shine when you pair them with dark chocolate or drop them into a steaming mug of hot cocoa. For storage, keep them in an airtight container at room temperature, and if they ever seem to dry out slightly after a few days, a quick brush with a tiny amount of blackcurrant purée brings them back to life. One final thought: these make exceptional gifts when wrapped in parchment and tied with twine, especially if you include a note about the homemade care involved.
- Dust your knife with the sugar-cornstarch mixture between cuts to prevent sticking and keep edges clean.
- If you don't have a candy thermometer, look for the soft-ball stage when a drop of syrup forms a soft ball in cold water, but invest in a thermometer eventually for consistency.
- Make these the day before serving if you're bringing them somewhere, as they actually taste better after they've fully set overnight.
 Save to Pinterest
 Homemade marshmallows are simpler than they seem once you stop overthinking the steps and start trusting your instincts. Make a batch this weekend, and I promise someone you love will taste them and ask you to never buy store-bought again.
Recipe FAQ
- → What makes these marshmallows unique?
The blackcurrant purée infuses each fluffy piece with vibrant tartness and a beautiful soft lavender color, creating a sophisticated balance between sweet and tangy flavors not found in traditional vanilla varieties.
- → How long do these need to set?
Allow the marshmallow slab to sit uncovered at room temperature for at least 4 hours until completely firm and set before cutting into squares.
- → Can I substitute other fruits?
Yes! Blackberry, raspberry, or cherry purée work wonderfully as alternatives, each bringing their own distinct flavor profile and color to the finished treats.
- → Why do I need a candy thermometer?
Heating the sugar syrup to exactly 240°F (115°C) ensures proper structure—too low and marshmallows won't set, too high and they become tough and chewy.
- → How should I store these?
Keep in an airtight container at room temperature for up to one week. The dusting of confectioners sugar and cornstarch prevents sticking during storage.
- → Are these suitable for special diets?
These are gluten-free and nut-free, though they contain gelatin making them unsuitable for vegetarians or vegans.