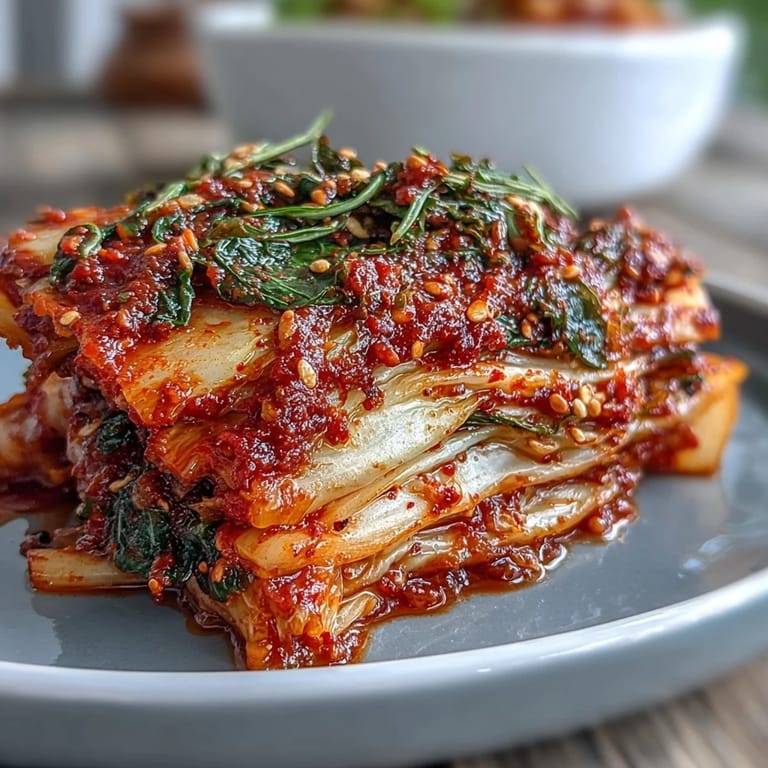
 Save to Pinterest
 My first jar of kimchi sat on my kitchen counter for three days while I kept opening the fridge to check if it was ready, convinced I'd somehow ruined it. The smell alone—garlicky, pungent, alive—told me something was working. When I finally tasted it, that perfect balance of heat, sourness, and umami hit different than anything store-bought, and I understood why my Korean friends always had a jar going. Now kimchi isn't just a side dish in my kitchen; it's a tiny fermentation project that teaches patience every single time.
I made this for a dinner party once, thinking two liters sounded like plenty, and watched my friends eat through half a jar in one meal. They kept going back, pairing it with everything from the rice bowl to the roasted chicken, and someone asked for the recipe before dessert even arrived. That's when I realized kimchi isn't just food—it's the thing that makes people slow down and actually taste their meal.
Ingredients
- Napa cabbage: Choose one that feels dense and heavy; a lighter head means less water content and better texture after fermentation.
- Daikon radish: This julienned vegetable adds a subtle sweetness and satisfying crunch that mellows beautifully as it ferments.
- Scallions: Their mild onion notes brighten the paste and add visual texture to every bite.
- Coarse sea salt: This draws out moisture from the cabbage and sets up the right environment for good bacteria to thrive—don't skip this step with table salt.
- Korean red chili flakes (gochugaru): This is where the soul lives; buy from a Korean market if possible because the freshness makes an enormous difference in flavor and color.
- Fish sauce: Yes, it smells funky on its own, but it's the umami backbone that makes kimchi taste complete and rounded.
- Rice flour paste: This thickens the sauce naturally and helps it cling to every vegetable instead of pooling at the bottom of the jar.
- Fresh ginger and garlic: Mince these finely so they distribute evenly throughout; they're what give kimchi its warming, complex depth.
Tired of Takeout? 🥡
Get 10 meals you can make faster than delivery arrives. Seriously.
One email. No spam. Unsubscribe anytime.
Instructions
- Prepare the cabbage:
- Cut your napa cabbage lengthwise into quarters, then chop into 2-inch pieces; the goal is manageable chunks that will fit easily in jars while still holding up through fermentation.
- Salt brine the cabbage:
- Dissolve sea salt in cold water, then submerge your cabbage pieces with a weight on top, tossing every 30 minutes for 2 hours. You'll watch the cabbage wilt and release its own liquid, which is exactly what you want—this osmosis step seasons the leaves from the inside out.
- Rinse thoroughly:
- Drain the cabbage and rinse 2–3 times under cold water until the water runs clear; excess salt will make your final kimchi too salty and interfere with fermentation.
- Make the spice paste base:
- Whisk rice flour with 150 ml water over medium heat until it thickens into a glossy, translucent paste (about 1–2 minutes), then let it cool completely. This starch-based paste becomes the delivery system for all your spices.
- Blend the aromatics:
- Combine your cooled rice paste with minced garlic, ginger, chopped onion, fish sauce, and sugar in a blender, pulsing until completely smooth. Stir in gochugaru to your preferred heat level—start with 3 tablespoons if you're unsure and adjust upward.
- Coat the vegetables:
- In a large bowl, combine your drained cabbage with daikon, carrot, and scallions, then add the spice paste and massage everything together wearing kitchen gloves. Spend time with this step; every vegetable should glisten with red paste and you should smell that garlic and chili mingling together.
- Pack the jars:
- Transfer your kimchi to clean glass jars, pressing down firmly to eliminate air pockets and ensure vegetables stay submerged under their own brine. Leave at least 1 inch of headspace because the fermentation process creates gas.
- Begin fermentation:
- Seal the jars and leave them at room temperature away from direct sunlight for 1–2 days, opening the lids daily to release the pressure that builds. You'll see tiny bubbles forming and smell the transformation happening in real time.
- Taste and store:
- After 48 hours, open a jar and taste; once it's sour and tangy to your liking, move everything to the refrigerator where fermentation slows dramatically. Even cold, it continues to develop, often tasting better in week three than week one.
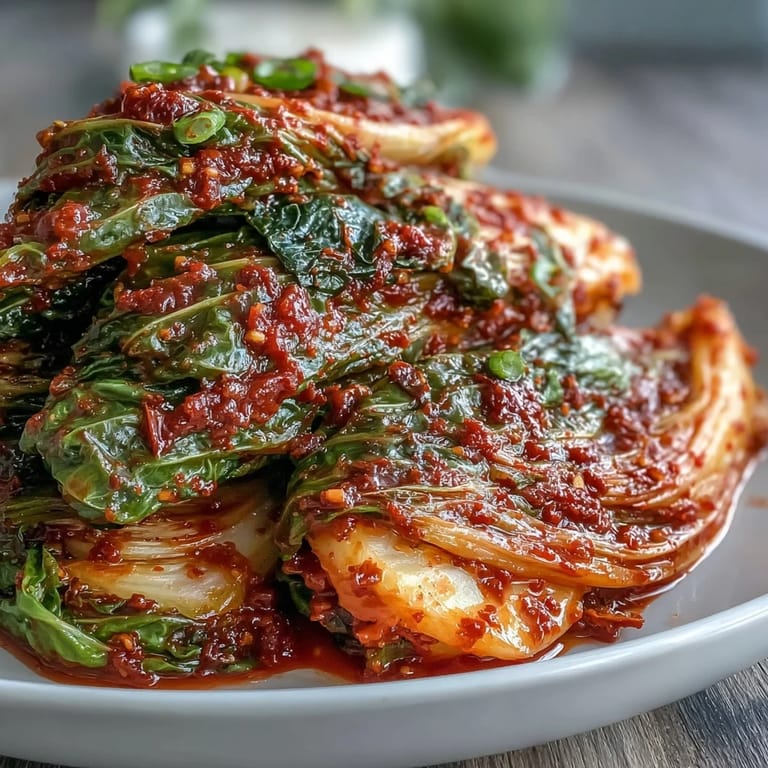 Save to Pinterest
 My mom once told me that kimchi-making is about feeling when it's ready, not just following the clock, and I finally understood what she meant after my fifth batch. There's something deeply satisfying about trusting your own taste buds and watching something you made transform all by itself into something better than it was on day one.
Choosing Your Spice Level
Gochugaru is the star ingredient, and its heat can vary wildly depending on the brand and where you bought it. I learned this the hard way when I used what I thought was mild and ended up with something that cleared my sinuses for two days straight. Start with 3 tablespoons and taste the paste before adding more; you can always increase the heat, but you can't take it back. If you want a gentler batch, grate in a small apple or pear—the natural sweetness balances the chili without dulling the signature kick.
Fermentation Temperatures and Timing
How fast your kimchi ferments depends entirely on your kitchen temperature, and this fact frustrated me until I stopped fighting it. In summer, my jars are ready in 24–36 hours because the warmth speeds everything up. In winter, I've waited five full days and still felt happy with the result because the slower fermentation creates more complexity. The rule is simple: taste it daily after the 24-hour mark and move it to the fridge once it reaches that sweet spot between fresh and truly funky.
Serving and Storage Ideas
Kimchi doesn't just sit quietly as a side—it transforms whatever you pair it with into something more interesting and alive. I've stirred it into scrambled eggs for breakfast, added it to grain bowls, layered it into tacos, and even tossed it with mayo for a spicy sandwich spread. Refrigerated, it keeps for months, though the flavor profile shifts from bright and peppery to deeper and more funky as weeks pass. Here's where it shines best:
- Atop steamed white rice with a fried egg and a splash of sesame oil for the quickest, most satisfying meal.
- Mixed into mayo or sour cream as a condiment that turns ordinary grilled cheese or roasted vegetables extraordinary.
- Stirred into soups, stews, or ramen during the last minute of cooking to add tanginess without losing its crunch.
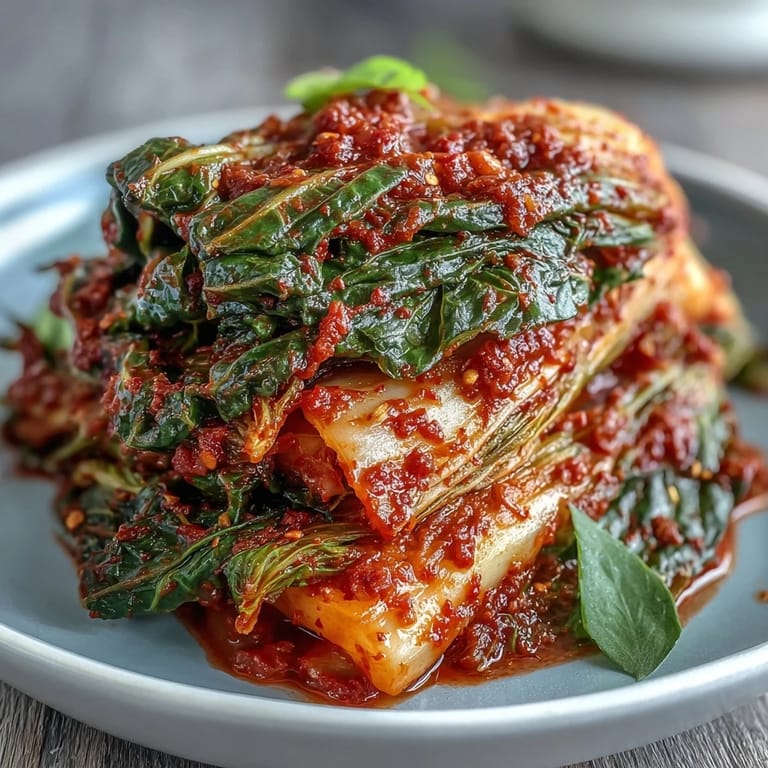 Save to Pinterest
 Homemade kimchi tastes like time and attention, like you cared enough to get the salt right and keep tasting until it was perfect. That's worth the wait.
Recipe FAQ
- → How long does kimchi fermentation take?
Fermentation typically takes 1-2 days at room temperature to reach the initial tangy flavor. After refrigeration, kimchi continues to develop deeper flavors over several weeks, becoming more sour and complex with time.
- → Can I make kimchi vegan?
Absolutely. Simply replace the fish sauce with soy sauce or a vegan fish sauce alternative. The umami depth remains excellent, and many prefer the lighter taste of the vegan version.
- → Why is rice flour used in kimchi?
Rice flour creates a thickened paste that helps the seasoning adhere evenly to the cabbage leaves. It also provides a subtle sweetness and contributes to the proper fermentation environment for beneficial bacteria.
- → How do I know when kimchi is ready to eat?
Taste your kimchi after 48 hours of room temperature fermentation. When it reaches your desired level of sourness and tanginess, transfer it to the refrigerator. The flavor will continue evolving, becoming more complex over time.
- → What makes kimchi bubble during fermentation?
Bubbling indicates active fermentation, which is perfectly normal and desirable. Beneficial bacteria produce carbon dioxide as they consume natural sugars in the vegetables. This is why burping the jars daily is essential to prevent pressure buildup.
- → Can I adjust the spice level?
Certainly. Start with 3 tablespoons of gochugaru (Korean red chili flakes) for moderate heat, and increase to 5 tablespoons for intense spiciness. For a milder version, reduce the flakes and add grated apple or pear to the spice paste for natural sweetness.